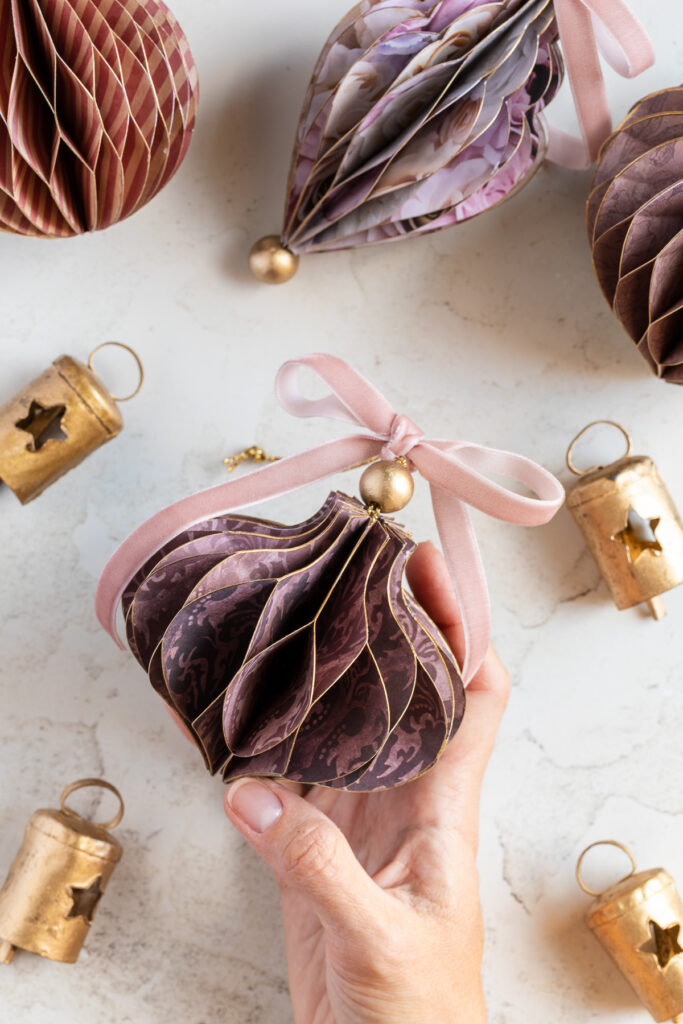
DIY Paper Easter Ornaments
These handmade Easter ornaments prove that DIY decor doesn’t have to be costly or time-consuming. Using just patterned scrapbook paper, you can create paper honeycomb ornaments to dress up an Easter tree or make a unique garland. Grab the patterns below to cut your ornaments by hand or with a Cricut machine.

This post contains affiliate links, and I will be compensated if you make a purchase after clicking on my links. For more information, please see my disclosures.
As a kid, I always looked forward to making seasonal crafts with my mom. I guess the apple doesn’t fall far from the tree. I can’t resist roping my boys into holiday projects now!
These honeycomb ornaments make the perfect Easter craft for both kids and grown-ups. Once you get the hang of the gluing technique, they’re easy to create.
I have three patterns below to make these ornaments at home using any scrapbook paper you like. Enjoy!
How to Make Easter Ornaments with Paper
Honeycomb ornaments look fancy, but they’re easy to make with just about any scrapbook paper. You can mix and match different colors, choose one solid color, or use double-sided patterned paper, as I did here.
I’m offering patterns in PDF and SVG formats below so you can cut the shapes by hand or using a Cricut cutting machine.
Supplies
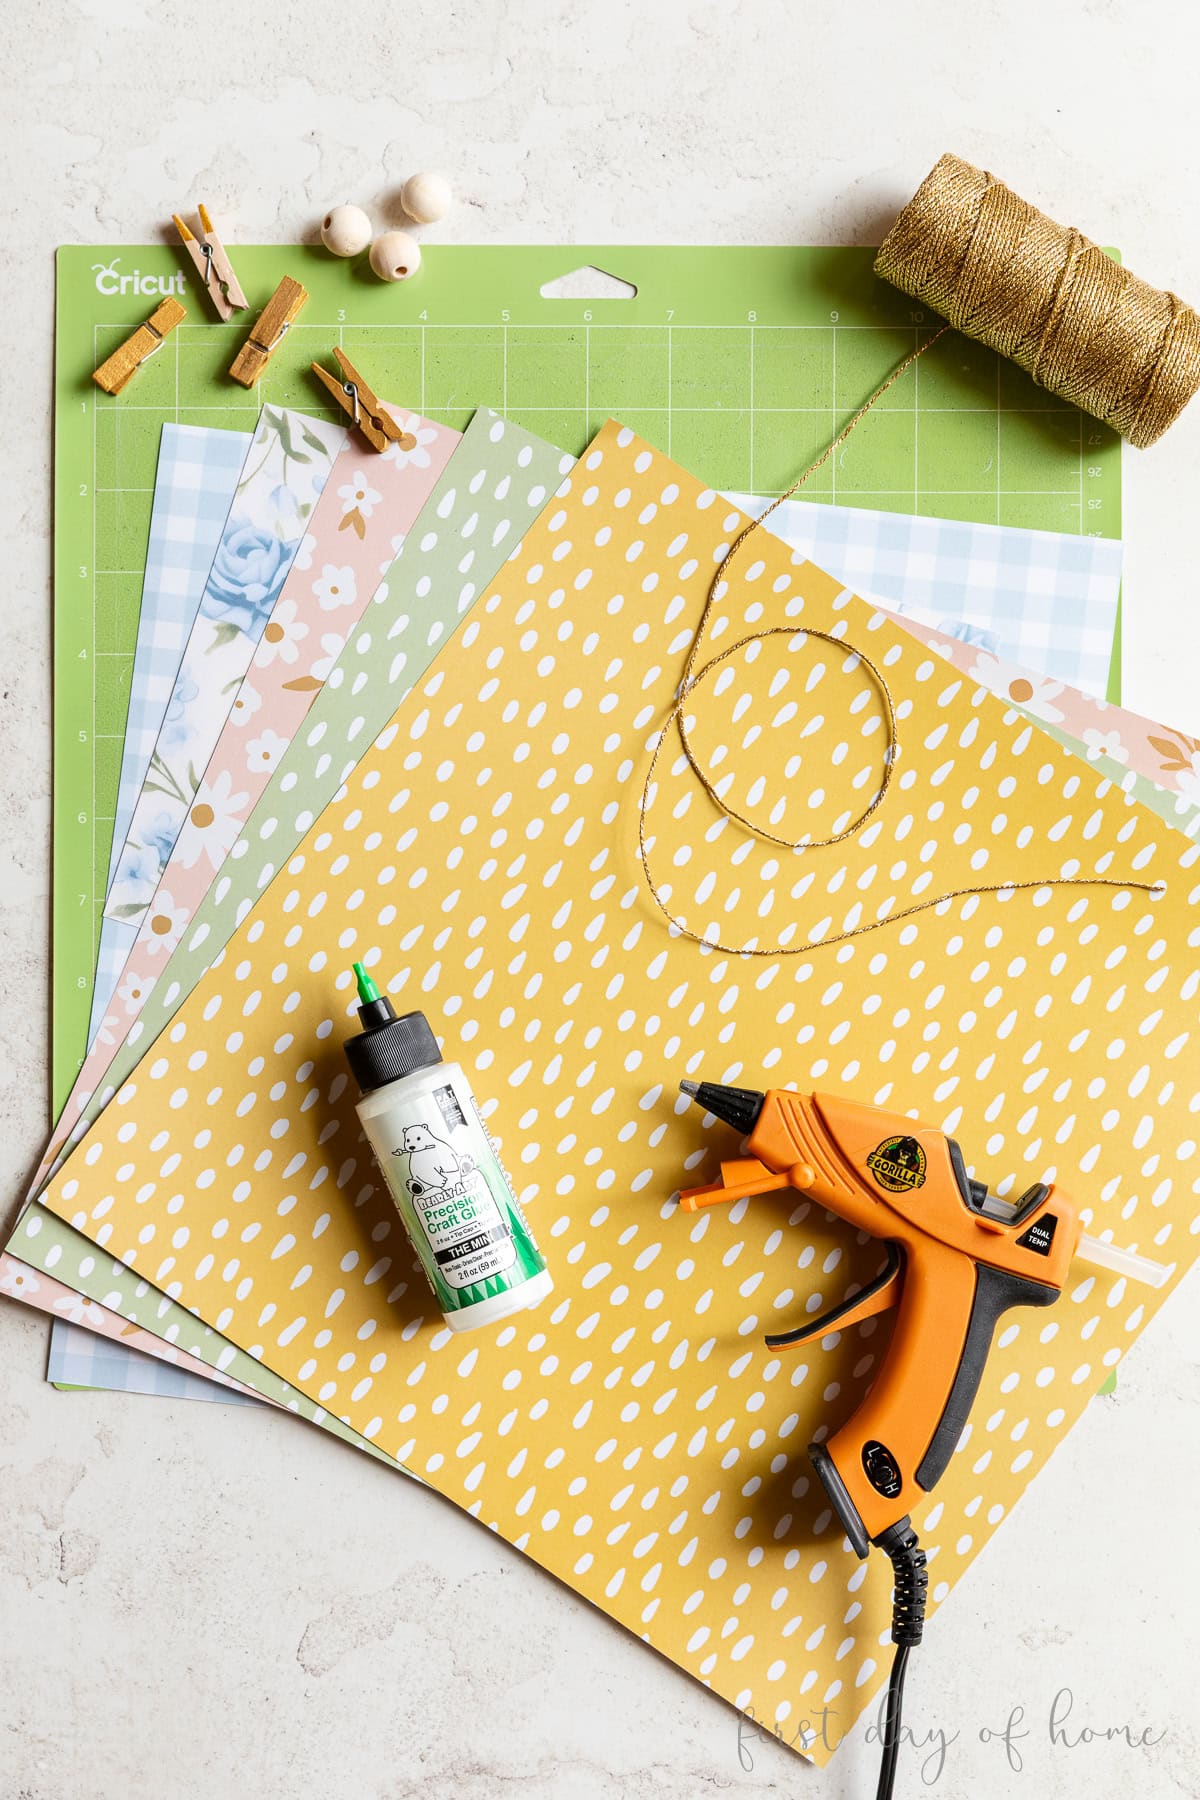
- Scrapbook paper
- Craft glue
- Hot glue
- Ribbon (for hanging)
- Cricut machine (optional)
- Wood beads (optional)
- Acrylic paints for beads (optional)
Step 1: Cut and fold the shapes
You can purchase this ornament bundle from my shop to download the carrot, bunny, and Easter egg patterns.
I’ve included both a PDF file (for printing and cutting the shapes by hand) and an SVG file (compatible with Cricut and other machines). The files come with step-by-step assembly instructions.
This small purchase ensures I can continue providing craft tutorials and sustain my small business, so THANK YOU for your support.
Get the Ornament Patterns
If using a Cricut machine, follow the instructions to change all vertical lines to score in Cricut Design Space before attaching the individual shape to the lines.
You will need 16 cutouts for each type of ornament, folded in half vertically.
Step 2: Glue the pieces together
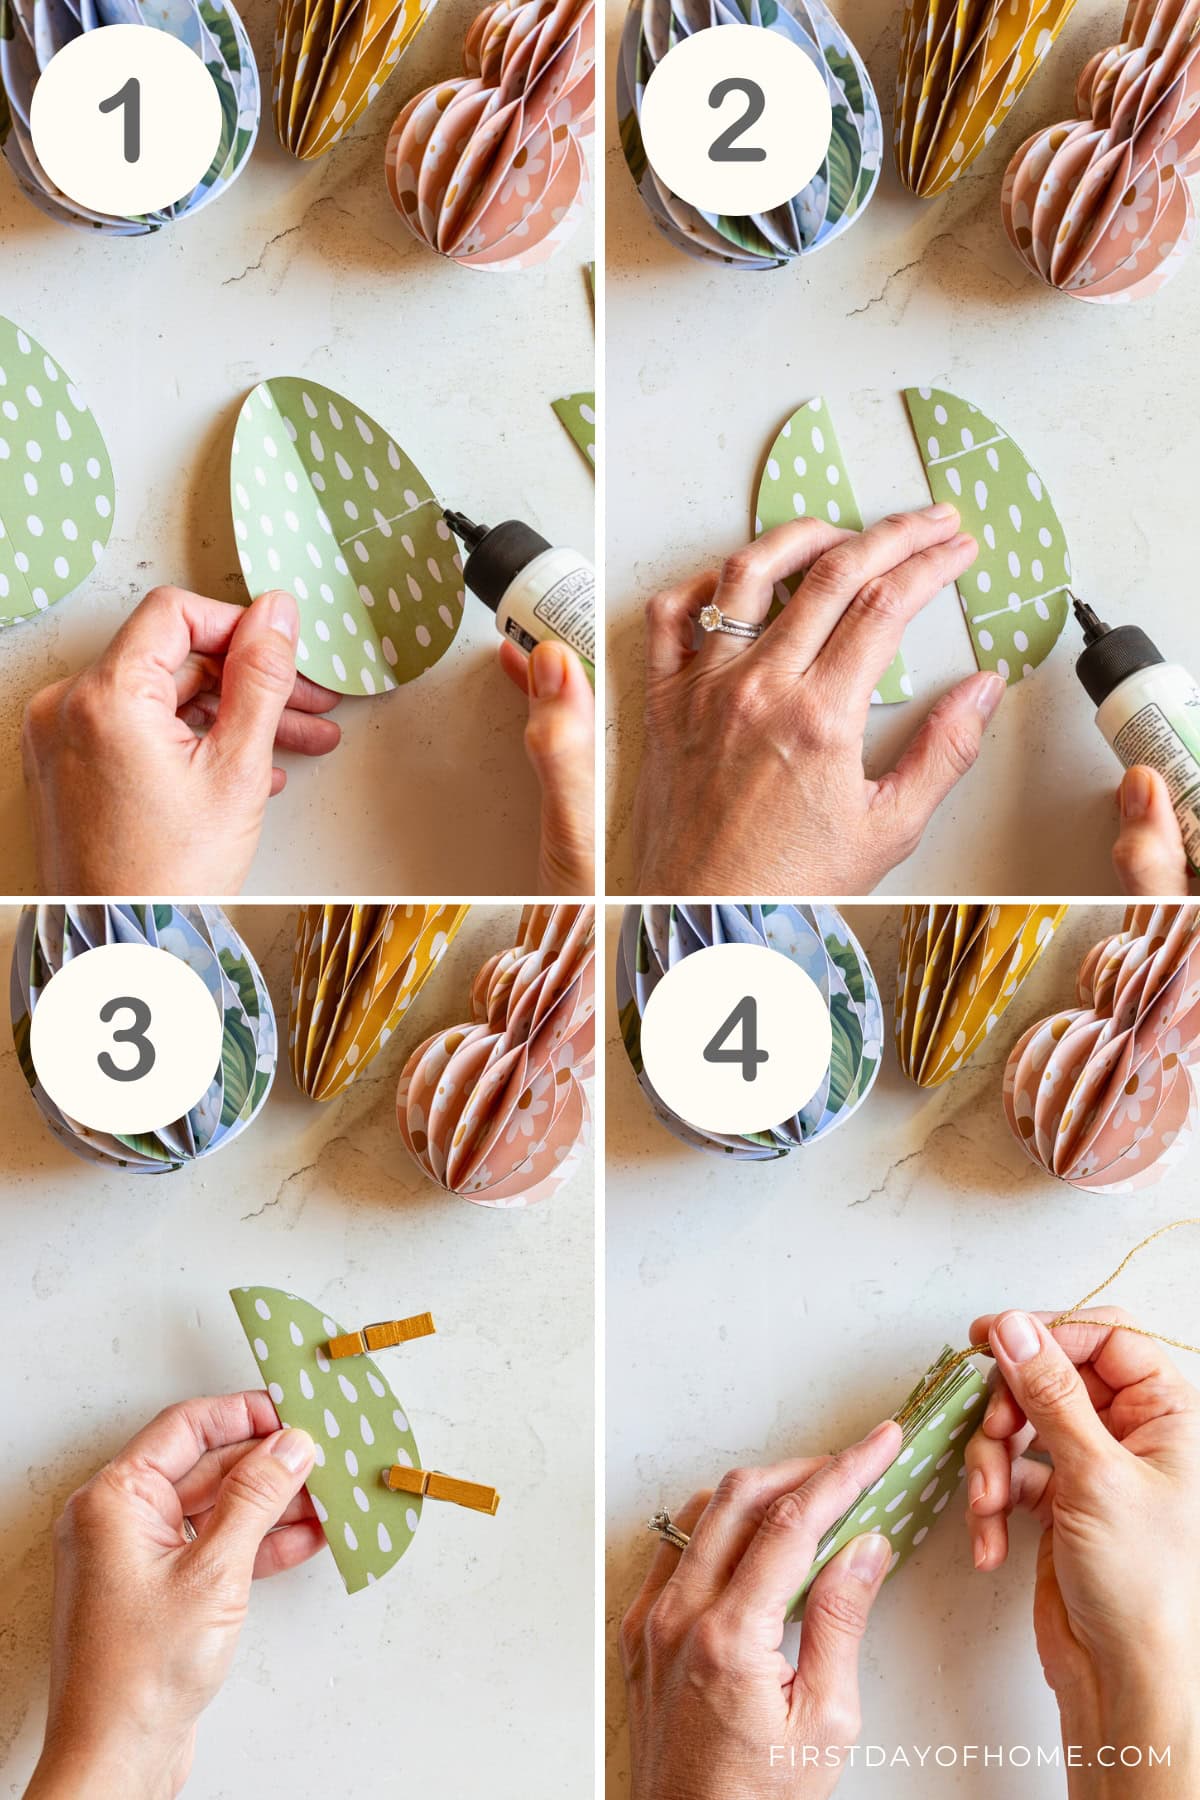
Follow this four-step process to assemble each ornament:
- Add one line of glue along the middle of each cutout, from the fold toward the outer edge. Fold closed and allow to dry for 30 seconds.
- Attach folded halves by adding two more glue lines along the upper 1/3 and lower 1/3 of the shape.
- Press the glued halves together with clothespins or clips until the glue has dried. Continue until all halves are glued together.
- Attach the ribbon by applying hot glue along the spine of the ornament.
Once the hot glue has dried, open the ornament and follow steps 2-3 to seal it closed. Alternatively, you can use two paper clips to hold the ornament closed.
Step 3: Add decorative beads, ribbons, or gold trim
For a finishing touch, you can add a wood bead to the top of the ornament, much like I did with my Christmas honeycomb ornaments.
For these Easter ornaments, I dabbed each bead with white chalk paint and gold metallic paint using a foam brush for a rustic, vintage look.
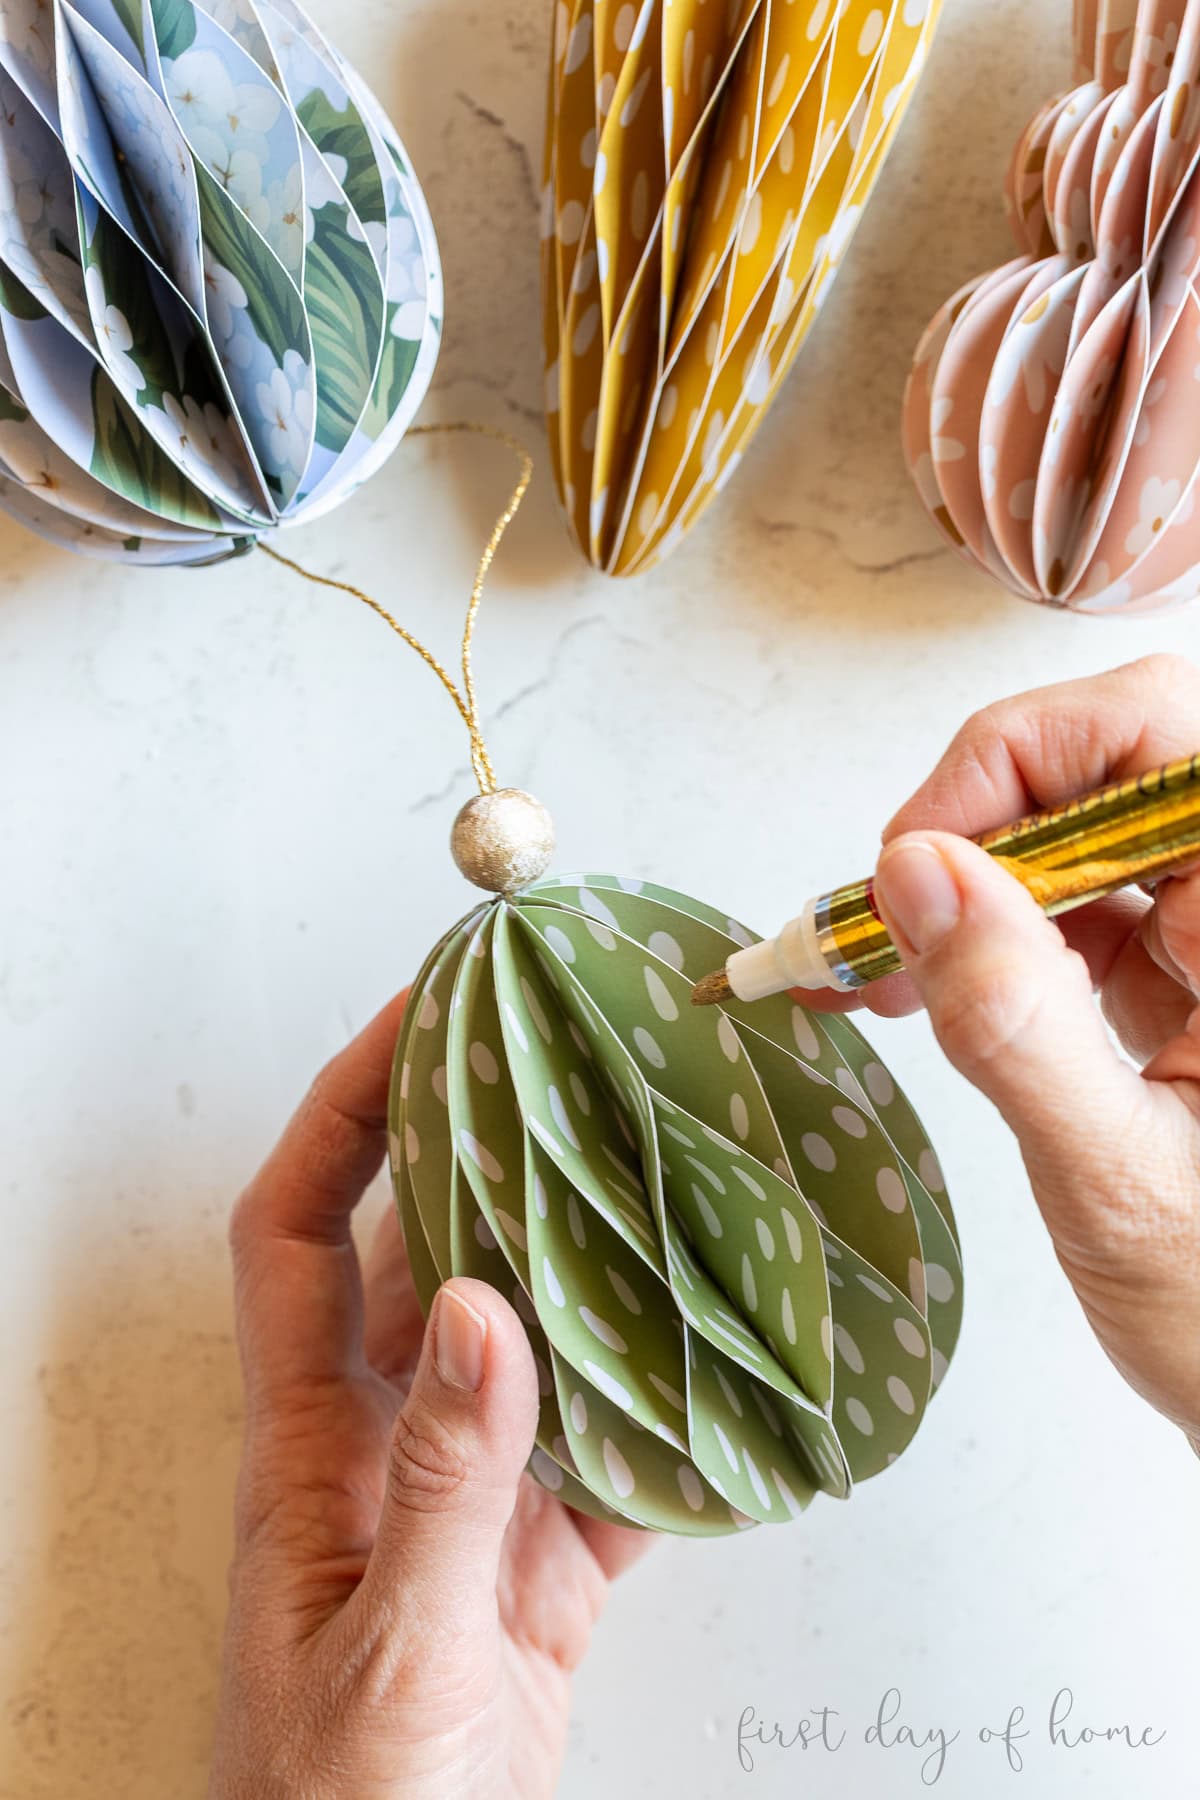
You can also add a touch of gold on the edges using a gold leafing pen. I love this effect, especially for the blue-patterned ornaments.
Decorating with Easter Ornaments
Add your honeycomb Easter ornaments to an Easter tree, or hang them on ribbon or twine for a pretty fireplace garland. You could also attach them to a skewer to make a unique Easter table centerpiece.
For another cute DIY Easter project, check out my chocolate felt bunny, which pairs nicely with these Easter ornaments on a tiered tray.
I’d love to see how you use your Easter ornaments to decorate this year. Tag me on Instagram (@firstdayofhome) to share your projects, and don’t forget to pin this below!
Pin it for later!